
The Everesting challenge has gotten quite some attention during the COVID-19 pandemic with athletes around the world looking for alternative challenges as races were cancelled. But doing the same road an entire day didn’t compel to me with so many other things to do. However, in winter it was a whole different challenge.
I enjoy being outside, I enjoy riding bikes, I love mountains and going uphill. But at the same time I love the views, the challenge of planning amazing routes and the adventures you face while getting far away from home with only the power of your own body. So while everyone started everesting climbs near their home during the first lockdown, I challenged myself to come up with creative routes that would not violate any COVID-19 related restrictions or bring others at risk.
So as my friend Chris Perkles approached me as he wanted to shoot a video of me doing an Everesting I had my doubts. It was a challenge I went around for so long and also: it was winter! Winter in Austria is grim. There’s lots of snow, ice and most of all darkness and cold will accompany you most of the day. To be completely honest:
Usually I change the bike for skis in winter. Ski mountaineering is my second great passion and I love it.
After convincing myself that it will be way more interesting to master such a challenge in winter, I put my head down and started planning and preparing myself for a successful attempt. I will try and document all the aspects of what made my attempt successful even in winter.
It will hurt either way, but planning and preparation might make it a lot easier.
Part 1 — Choosing the right climb
Well it might sound easy, but you definitely want to be especially careful with choosing the small patch of road you will spend a hell lot of time on. There are a few factors I took into consideration for my segment:
- length
- gradient
- traffic
- terrain, surface
- logistics, supplies
- ease of descending
- panorama
It is very tempting to look for an incredibly beautiful HC climb that is lets say 12km long. You love it and you can imagine riding it a whole day. Or you could go easy having an easy gradient and just do more reps. BUT this distance is double as you go up and down and you have to do way more distance. We all can relate to a 100km ride being big. Make this 300km and even in the flats most people will shy away. So the key is to find the right balance. Not too steep so you do an all out effort all the time but also as constant and steep enough to do the verts needed.
We also may all agree that climbing 8848,86m is a bit out of the ordinary and will take enough time on its own. So you will want to make sure you don’t have to deal with a lot of traffic and need to stop constantly. You also don’t want to go off route for getting resupply. Time is key. And you want to loose as little as possible for finishing in time. It also makes up for comfort and peace of mind knowing you can stop for a snack not having to plan that way before.
Same applies for your descent. The faster you get down the less you have to worry or concentrate to get down the better. (And in winter a short fast descent doesn’t cool you off and makes you freeze before your next ascend as much.)
Last but not least, unless you really enjoy punishing yourself, make sure you like the place and there’s lots to see. You will spend an awful lot of time there.
So what did I choose? The segment I’ve chosen is the steepest part of our city mountain “Gaisberg”. The segment from Zistelalm to the top has a roundabout and a parking lot at the top and at the bottom. Perfect for having quick turn arounds and a food stash. As during the lockdown everything was closed I parked my car at the bottom parking lot to get water and food whenever I needed it.

planning my section on komoot
The segment is only 2,45km long but climbs nearly 300m up. That makes for an average gradient of 11,8%, the steepest part being 21%. Yes this is hard, but 8848,86m/293m (actual climbing) = 30,2 times to go up. That makes for a total distance about 148km. That sounds very doable!
To make it even more perfect you have a stunning panorama on top and only one corner where you have to break in the descend. Oh well and no one ever tried everesting on Gaisberg before. I wanted that first ascend batch. 😉
Part 2 — Training and Preparation
This part might be the most overwhelming. Where to start? I guess most people have never even close climbed so much in a day. Well but as always endurance sports and especially cycling are a game of numbers. And an Everesting is a very long aerobic effort. (no sprints, no attacks, etc.)
To put it simple the more aerobic effort you can sustain the faster you will be and the easier it will become. So you need to train the basics and put some long rides in. If you can ride very long days and feel you got the power to climb the gradient you chose as an aerobic effort, you are ready to go! (If you aim for a new record that might be another ballpark.)
This all of course implies you know a bit about your heart rate and/or power zones, general training methods and you probably put about half a year of training up front at least. For me that was still in the tank as i was about to end my season, so I had quite a big year with lots of hours on the bike already in my legs.
Part 3 — Nutrition and resupply
This should be one of your biggest concerns. We all been there: Hitting the wall, bonking, over and out. You will definitely want to avoid this! So don’t just trust it to be ok, try your nutrition strategy before on a training ride!
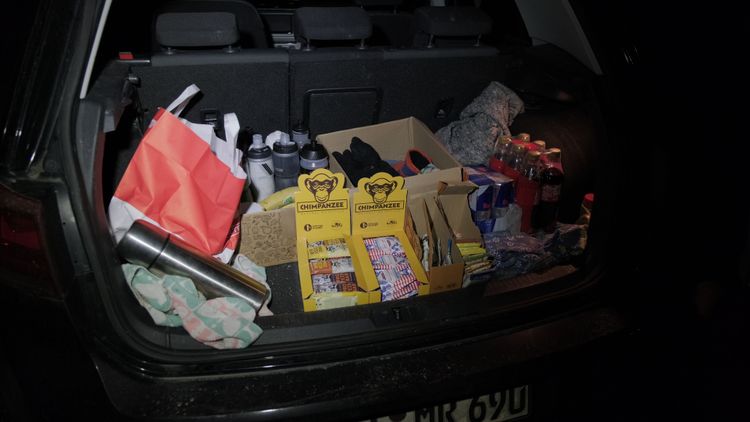
The car fully loaded. Everything ready to grab. (My beloved Focaccia hidden in the bag.)
My biggest learning doing long distances and long day is quite simple: Eat naturally! I love sports nutrition and I eat a lot of Bars, Gels and I like the occasional Iso drink. Recently I even experimented with the Chimpanzee Nutrition Before and After Shakes and included them as I think it helps my recovery. But you wouldn’t stop eating real food and just eat bars all day right? Well me neither. If you spend a whole day or more on the bike you need real food, you need salty easy to eat food. The same applies to your drinking strategy. You don’t want to drink Iso all day. Mix it in between good old water and maybe some tea or whatever you prefer to drink non sugary.
Keep it simple and don’t bring your 3 course meal and cutlery. For me potatoes, homemade Burritos or Focaccia work best. I can pack them small and eat them easy while riding. Be creative and bring the food you love! It is also cheaper than junk food.
Of course you will also bring the usual sweets and even a booster like coke or an energy drink to get you over a low quickly.
One last thing: Make a schedule for eating and drinking! You might not feel hungry or thirsty, but as soon as it hits you, it hits you hard. You will avoid those lows that might threaten your attempt by constantly refuelling before you even physically feel it.
Focaccia gave me carbs and salt when I needed it quick.
Part 4 — Choosing the right gear(s)
You might want to check you have the right tool for the job. Your super fast aero road bike with 38–25 might not be a good choice for an everesting attempt. Weight is very important, but will not win you your entry to the Everesting Hall of Fame. Your whole bike setup should be centred around comfort. You will not have any massive aero gains and that super lightweight bar tape will only be a good idea for the first few hours.
As you know the gradient of the climb you plan to do a stupid amount of time you can use one of the numerous gear calculators around (like bikecalc.com) and check if your gear ratio on the bike is sufficient to get up comfortably even if you find yourself in a very dark place. (It is a science of it’s own and I leave you to this, but trust me: knowing what you ride and what ratio you ride will make things way easier!)
Once you figured your correct gear ratio make sure you can ride your bike a whole day comfortably. Do you get numb hands on long rides? Knee pain? Saddle Sores? Well, check your position on the bike, your saddle and probably your saddle height and the setup of your cleats. Maybe apply some comfort like double or extra thick bar tape. Oh and have you thought about spares? You don’t want to end your attempt because of a flat, right?
Not the lightest setup, but definitely comfortable.
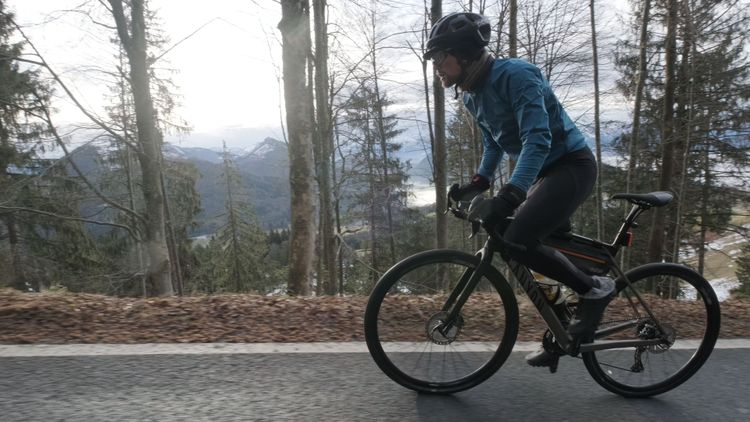
I personally like to also have a little toptube bag to access snacks and sweets. In winter I even carried a frame bag for spare clothing. It might surprise you I chose a Canyon Grail CF SLX 8 Di2. But the geometry of a gravel bike was just the comfort I needed and the crisp shifting of the GRX Di2 made it easy, even with frozen fingers. Having a gear ratio of one was of help in the steep sections.
Part 5 — Clothing
In summer this would be easy. Wear you favourite jersey. Bring a wind jacket or whatever you like in case you get cold in the descends. In winter this was a proper challenge. Have you heard of the so called “onion principle”? This is what brings you through.
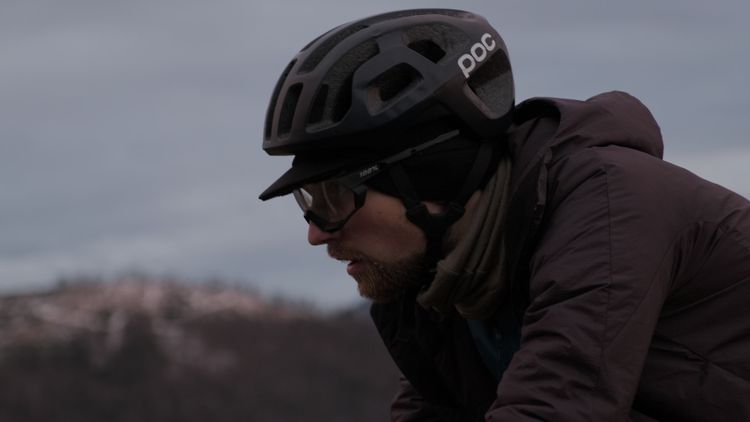
Quite simply put you are layering clothes on top of each other. The air in between the layers as well as the layers themselves will insulate you. I used a merino base layer with a 7mesh Callaghan Merino Jersey on top. To protect myself from the wind while descending i used a 7mesh Cypress Hybrid GORE TEX windstopper Jacket. For the moments where I really felt cold I put an Outflow Prima Loft insulated jacket on top. Of course i used a buff for my neck and a winter cycling hat. Long thermal bibshorts (TK1 BIB Tights) were enough for me, but I never have problems feeling cold on my legs. Oh and my hands? I used skiing gloves. They really kept my hands toasty and warm.
The worst part for me in winter are the feet. Even with 2 pairs of socks and over shoes I have problems with my toes freezing and hurting. The same applies to using winter shoes. To me they are less comfortable and didn’t keep my feet toasty either. I chose to use my Quoc Gran Tourer shoes as I love them and know I can stay all day in them. So here comes the weird bit: To help the feet stay warm use plastic bags! They work like magic for me. You can also try aluminium foil or tape if you have vents to seal.
In general I was really happy with my clothing choices and didn’t really freeze at all. Thank you to 7mesh for supporting me for this challenge with your amazing clothing!
Part 6 — Pic a day and time and hit it
Ok it seems we’ve done everything we can to prepare except one thing: We need to decide on a day and pic a time to start. First of all you should have a disaster plan. If it rains all day, maybe there is a better time to do your everesting. Instead of being frustrated looking out the window in the morning watch the weather report. If things don’t line up (weather can also change during the day) maybe have a second date handy so you can postpone your big day.
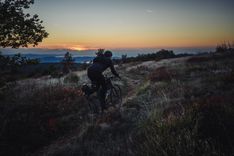
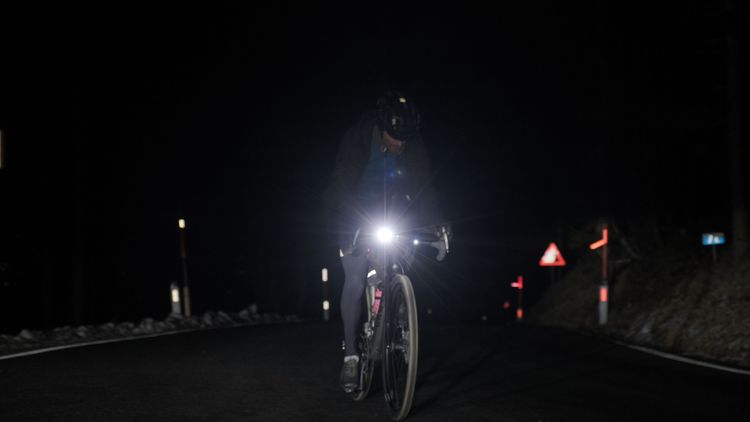
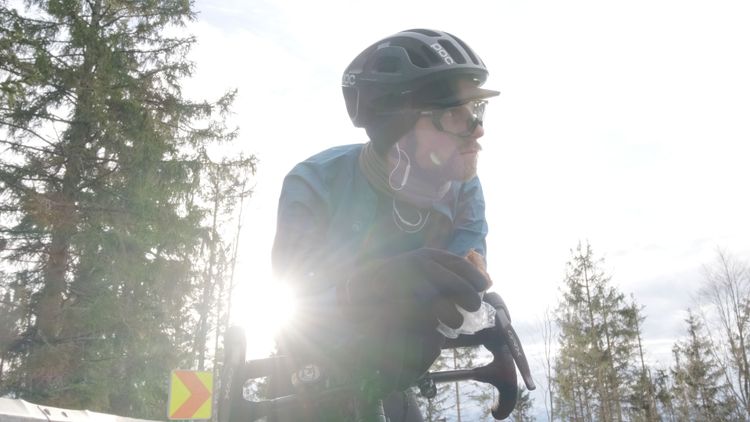
Another big thing is deciding on when to start! It is probably not a good idea to start in the afternoon and go through the whole night. (Unless you like to do that) For me it is perfect to start ridiculously early and push for the sunrise. For most of my rides I can avoid going into darkness a second time. On one hand the night is cold and you will need lights as well as high vis clothing, on the other hand you need to concentrate way more, you will be slower and psychologically it is hard to know it is getting night again. But of course this is personal and you can have your own approach.
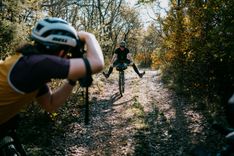
If you want a bit of a social push, maybe tell your friends about your big day out! I was quite happy to have a few friends accompanying me for a lap or just saying hi. Thank you to everyone that came by, it really helped!
So how did it go for me?
I started at 3am in the morning to a surprisingly warm 0° Celsius. That weirdly meant it got colder throughout the day. Within the first 5 hours until the sun finally got up, i managed to reach Everest Base Camp. I was going surprisingly fast and I felt very good!
Of course I needed a few small breaks to fill up water and food, as well as exchange some layers to stay warm and dry. All in all with being forced to stop because of wood works and a cut tree on the road and some minor stops for filming the whole thing of course i didn’t stay in time to finish in 10h. I even had a small moment where i had to refuel quick in order to avoid bonking, but it went over fast and i continued at my desired pace.
In the end I finished in 12:48h and felt amazing! Of course you’re tired after such a ride, but I definitely felt a lot better then I thought I would. In fact I felt good and recovered 2 days after. Huge part of this was the controlled effort. Never going too fast, never over-pacing it. A good friend of mine always says “Party pace wins the race!” In ultra that is actually true.
I was very happy with my preparation and setup and I didn’t freeze or bonk. Thank you to everyone who supported me in this!
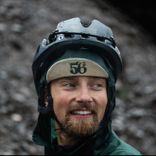
Max Riese is an ultra-endurance athlete based in Salzburg, Austria. If he is not on a bike you will probably find him in the mountains for ski-mountaineering and other gems of the great outdoors. Thank you to the brands supporting this challenge and the people doing the work behind it!