In the depths of covid lockdowns in Melbourne, I hatched a plan to make an ultralight bivy, that would make use of existing bikepacking equipment, and be comfortable enough that it could be used for days on end. It would be a deluxe bivy and about the same weight as existing single-pole systems.
Utilising a contact at Tubolito, my plan was to create a bivy that used Tubolito innertubes to create a structure that held the bivy up, providing room for air to flow, and a barrier for the water transmission that happens when your sleeping bag contacts the outer fabric.
I had a few other prerequisites. It needed to be light, but not at the expense of durability. Consumerism is a huge driver of climate change, and I didn’t want to be another person making gear that only lasts a season or two. It makes sense that the roof of the tent is lightweight – there isn’t much that would tear that regularly, and the top is easily patched. For the bottom, however, I wanted to be able to throw this down without worrying about every stick and stone. There were some lighter options, but I chose a 70D fabric for extra peace of mind and utility. Here are the final specs:
- 512 grams
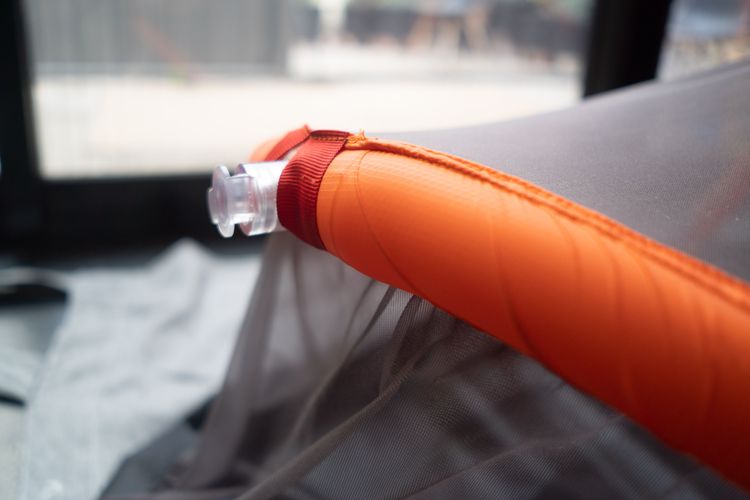
- Air filled beams
- Presta valve so your pump can become dual-purpose (flats and tent!)
- Dump-valve for quick and easy deflation
- Complete insect inner wall
- Waterproof, ultralight, Dyneema outer fly
- 70D Waterproof and durable floor
- 2.1 x 0.7 (max) x 0.7m (max)
- 7 tie down tabs for wild weather use
Phase 1: Rough Measurements and Sketching
Given I was tailoring this to myself, the first step was to get my gear out and see how big everything was. I’d resolved to go as light as is possible at this stage, so my plan was a single walled bivy. It would have 10cm room beyond the length of my sleeping mat, would be just wide enough for the mat, and I’d have 10cm clearance while sleeping on my side.
I love to draw everything out on paper while planning things, so went through several iterations, before settling on a zig-zag patten for the supports.
Phase 2: Would this actually work?
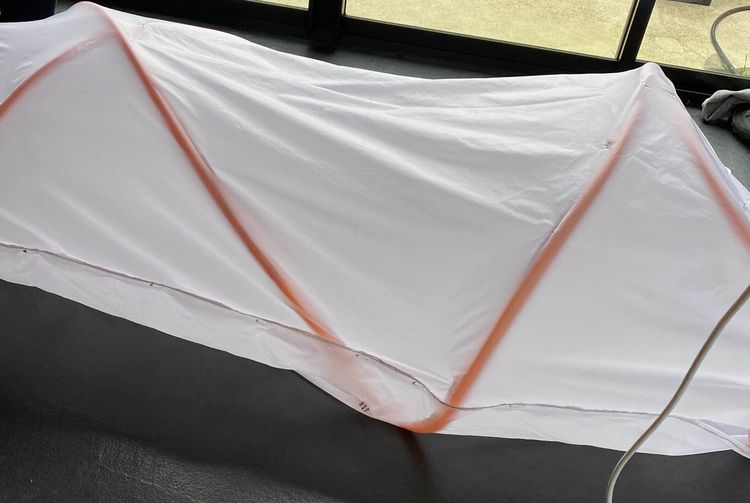
Given how expensive ultralight material is, I wanted to mock up the finished product (and test my sewing skills) before I started cutting and sewing the real thing. I dropped down to my local sewing material shop and bought the cheapest ripstop I could find, and ordered four Tubolito road tubes that I figured I could bond together.
With plenty of experience designing equipment from my time as a Mechanical Engineer, albeit quite different equipment, I got a design together pretty quickly and it was time to start cutting, sewing and bonding the tubes together.
My first design was a simple sheath for the tube, floor and ceiling with loops to thread the tube through. It was a disaster. In my mind, as I pumped up the tubes, the tent would sort of just pop up into shape. However, when partially inflated, the tubes could easily shift through the loops as they were inflating and extend beyond where I had planned for them to be. It could be adjusted afterwards, but it was a rather low-quality experience.
Phase 3: A design revision
Through a few iterations, and a lot of pinning tube sheaths on in different arrangements, I threw out the zig zag option for a safer criss-cross pattern that would provide more strength and auto inflate a bit better. The cost was 30 grams, but a small cost if the final product was more robust.
When inflated, it did as I originally expected – it popped up and stood without any need for manual alterations. A tent set up in a few seconds with a pump. What a relief.
Phase 4: The real thing
Prior to the final build, I noticed that for about 50 grams, I could have a complete double walled system, with a full insect net, and waterproof fly. In summer, I could ditch the fly and I’d never have a mosquito to bother me.
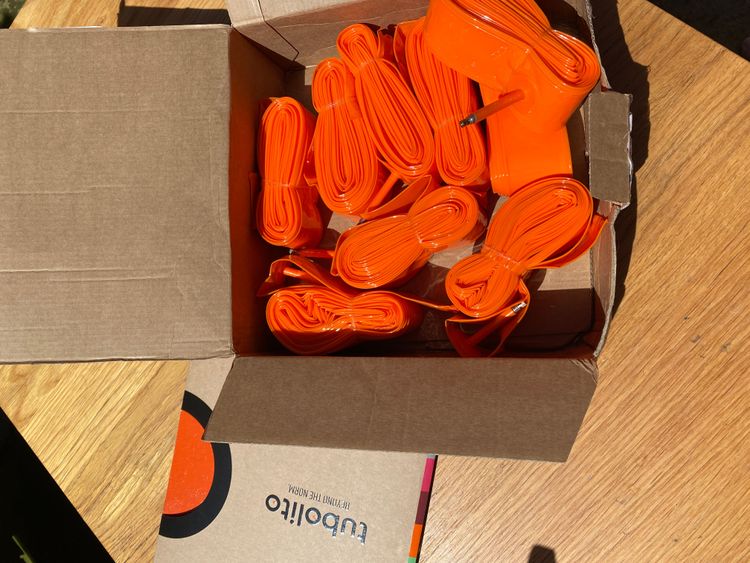
One small hitch with my draft was that the tubes I’d self-bonded had slow leaks. Having met the guys at Tubolito I figured it would be worth asking if they would be able to make me a custom tube that was long enough without me needing to patch together multiple tubes. To my elation, Tubolito was happy to help. Shortly after, a bunch of custom tubes arrived in the mail, leak free and ready to go.
Another flaw I’d found in the initial design was the need to hold the presta valve down while deflating the tent – a pretty tricky manoeuvre. The solution was to install a dump-valve at the foot end, so that it could be opened and then the tent could be easily folded and rolled together.
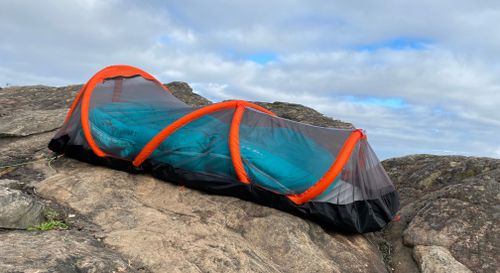
Phase 5: A test at my uncle’s farm
My family’s Christmas is usually quite a large affair, so quite a few of us end up sleeping in tents outside so that we all fit. It also presented a perfect opportunity to test my tent, and have the backup of rolling my sleeping bag out inside if everything went pear shaped.
All went swimmingly though, and with a quick pump the tent popped up, and I was quickly asleep. Dew formed overnight, as it usually does, but I was as dry as could be inside.
Phase 6: Hiking?
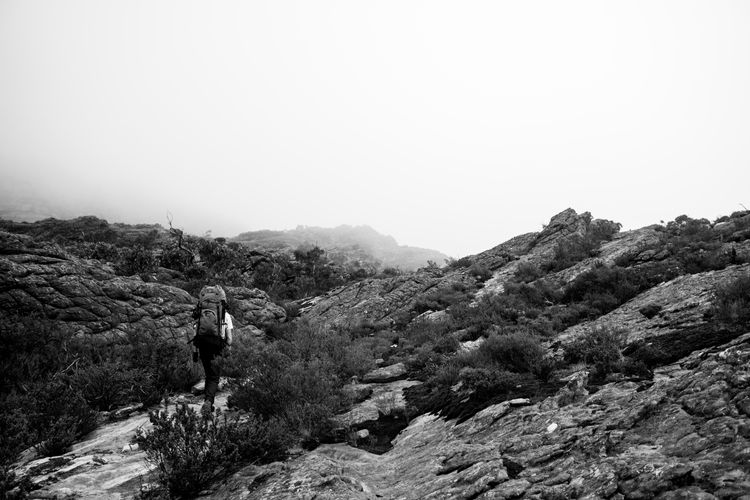
As it turns out, my first use ended up being on a hiking trip. When a mate suggested the new Grampians Peaks trail, I was in, but what equipment should I take? The answer was obvious – I had to take my tent, even if it meant bringing along my bike pump. Even so, my tent and pump came in comfortably under 600g. Not bad at all. While the others hiked with large multi-day packs, I had a small overnighter as a result.
With the cold nights, I experienced a little condensation, but even as the heavens opened and it bucketed down rain, I was toasty and dry.
Phase 7: What’s next?
A second revision is underway, to bring the tent down to under 500g, and provide options for more ventilation. Alongside this, a 1.5 person tent is also in the works. Stay tuned!