On her first bikepacking trip, @anke_is_awesome didn't know what was more stressful: looking through the huge selection of camping equipment - or pedalling afterwards, because of course she had taken far too much unnecessary stuff with her. Why should you pay attention to the length of the poles in a tent? Why can a sleeping mat be more important for warmth than a sleeping bag? And why does down or synthetic make a literally huge difference? Here are some answers that will make your bikepacking life easier.
All you really want to do is get on your bike and sleep outside, but the first thing you run into is a wall of knowledge: Thermal resistance, bulkiness and water column stand in the way of the trip. And, unfortunately, the choice of equipment has a significant impact on how much fun you have later on.
Do you need a tent, a bivouac sack or just a tarp? And which functions can you compromise on in terms of price and where is it worth investing? I was completely lost.
For my YouTube tutorial, I spoke to half a dozen people who are more knowledgeable than me and some of whom have already crossed continents by bike. If you prefer watching videos to reading articles, just click here:
But so that you don't have to take notes frantically, here is the most important information in text form.
Tent
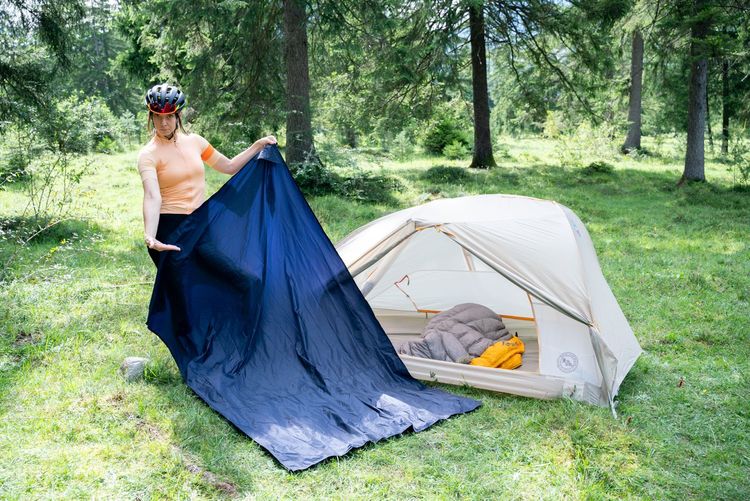
There is so much choice when it comes to tents that you may find it difficult to sleep when deciding which tent to choose. I would always recommend a double-walled tent. They are larger and heavier than single-walled tents, but you don't have a problem with condensation because it condenses on the waterproof outer tent and everything stays nice and dry in the inner tent made of mesh fabric.
A double-walled tent consisting of a separate inner and outer tent is practical. On a warm summer night, you can pitch only the inner tent to protect yourself from insects and have a view of the stars. It can also be divided between two bikes: one takes the inner tent and poles, the other the outer tent and pegs.
Because the basic rule is: **Always think about transport before you buy! **
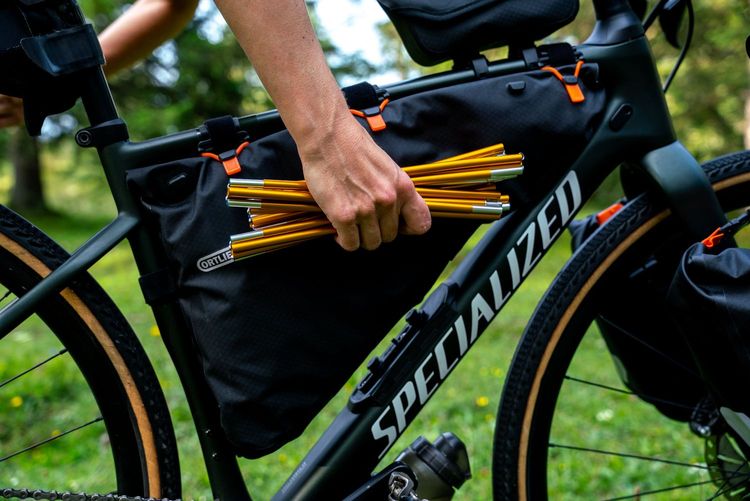
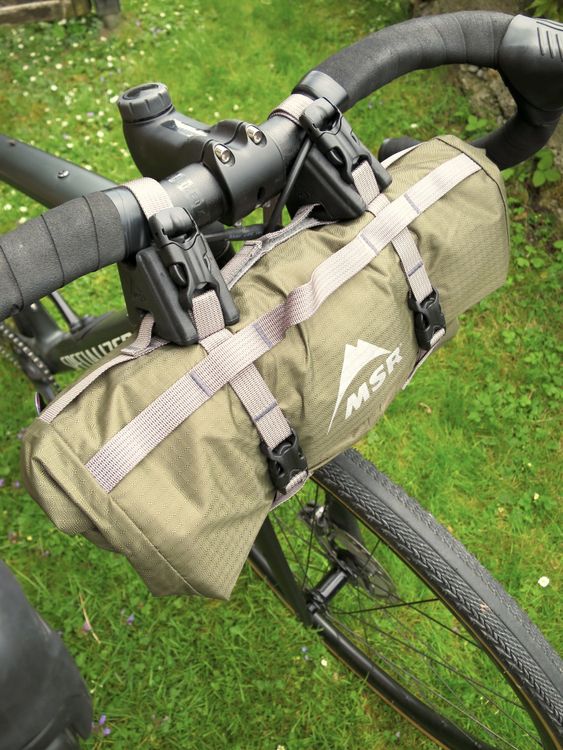
The poles are often a problem on the bike because they are usually too long for bike panniers in normal tents. That's why special bikepacking tents have shorter poles that can be fitted between the handlebars of a gravel bike or road bike, for example. Many models also have a robust pack sack and brackets so that you can strap them directly to the handlebars and, in the best case scenario, save yourself a bag.
Important: Check the weight specifications to see whether pegs etc. have been included in the weight! The manufacturer's specifications are not always standardised and also vary depending on the (online) shop. Otherwise you end up comparing apples with watermelons.
My product favourites: Until recently, my favourites were the "Tiger Wall UL2" and "Fly Creek UL1" tents from Big Agnes and the "Telos TR2" from Sea To Summit were pretty unbeatable. In 2024, the "Hubba Hubba Bikepack" for 1 or 2 people from MSR came onto the market, which can easily keep up in terms of size, weight and performance and is already a bestseller.
If you're too lazy to do your own research: Together with Globetrotter, I've put together a blog article, in which you can find a selection of recommended products - and always get an explanation of why we chose something. It's #advertising, but that's not my point. It's about providing help when you're faced with difficult purchasing decisions. There's also more information on materials and quality if you want to familiarise yourself.
Bivvy or tarp
Does it even have to be a tent? Which stuff you need is totally subjective. There's a world of difference between bikepacking races where you only spend 2 hours crouched on a park bench and glamping!
A tarp, for example, is unbeatable in terms of pack size and weight, much smaller and lighter than a tent. But it offers little protection and comfort helps against light rain and dew, but not against wind and cold. And where there are no tent walls, all kinds of creatures can crawl through, from ants to scorpions. But it's still better than no protection at all against precipitation. Before you take nothing with you, make sure you have an emergency tarp!
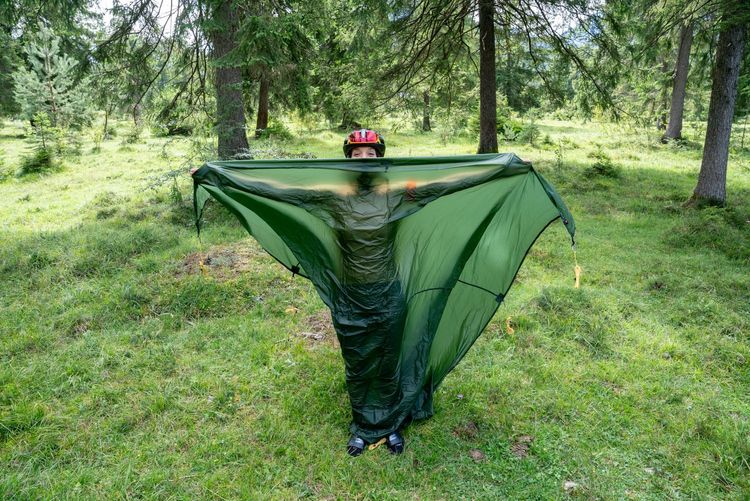
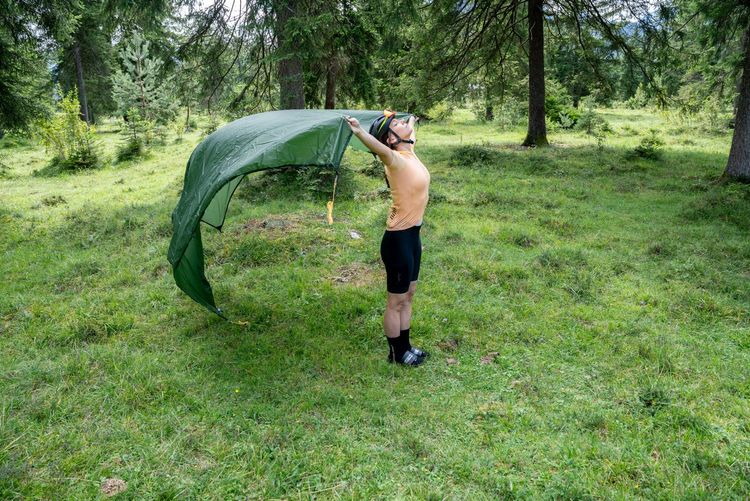
For short trips in good weather, I'm a fan of the bivvy bag. Especially when you're travelling alone, a bivvy is usually smaller and lighter than a tent, quickly ready for use and packed away again. You can only take a small amount of stuff with you and you can't change inside like you can in a tent. However, compared to a tarp, you have an enclosed space that increases the warmth of the sleeping bag and you don't have to share it with animals.
Disadvantages of the classic mummy bivvy: In heavy rain, it will eventually leak at the head opening. In this case, it's better to have a tarp with you. And depending on the model, you may feel a little claustrophobic.
That's why I have a bivvy with small poles that form a dome over the head. Also called a "doghouse". You can close it completely and still not feel like a tin can. It also has a mosquito net for that open-air feeling.
So of course something like this is a bit heavier, larger in pack size and more expensive - and depending on the size, you might as well take a one-person tent with you.
Tipp: If there are two of you, you should compare whether a tent is just as easy to transport as two bivouac sacks.
And: there are of course also hammock fans, but unfortunately my back breaks just thinking of lying in a hammock.
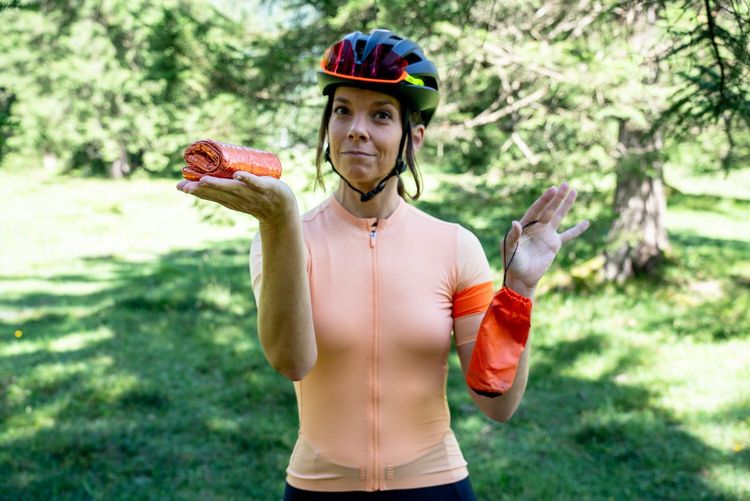
For small budgets: Bivvys made from rescue blanket material are also available as an emergency backup for unplanned or very short overnight stays. Super small and light and very warm thanks to the heat reflection - but zero breathability. You are then really lying in your own juice. The UL Bivi from Mountain Equipment, for example, costs only 24.95 euros and with the 2-person model, which is only 10 euros more expensive, you can keep each other warm.
Important: Stow everything that shouldn't get dew in the bags. Otherwise it will be wet in the morning. For example, I simply put my shoes in the bottom of the bivouac sack and, if necessary, put my cycling gear at the foot of the sleeping bag. It's disgusting, but it helps.
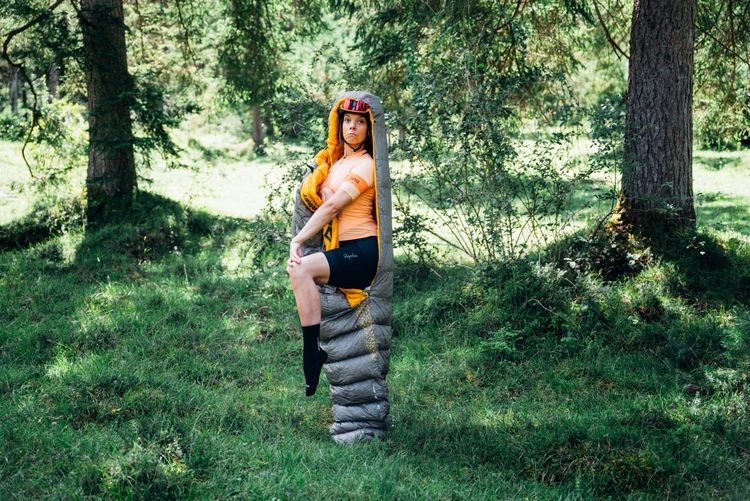
Sleeping bag
The first decision when it comes to outdoor duvets is: down or synthetic? I'm team down. Because down has the best pack size because it can be squeezed extremely small and is very light. And especially when bikepacking, pack size and weight are the most important factors, because the equipment has to fit on the bike in terms of space and you also have to move the extra weight with your calves. With down, you can sometimes save up to half the weight of synthetics in both respects.
Down also has the best insulating properties. But beware: when wet, it collapses and loses this ability. If you want to cycle through Nicaragua in the rainy season, you should bear this in mind.
Compared to down, synthetic fibre is cheaper, more robust, easier to care for and harmless in terms of animal welfare. And: insulates even when wet and dries more quickly - although wetness should of course be avoided.
The disadvantages apart from size and weight: synthetic fibres do not provide as much warmth or as good a sleeping climate as down. But between you and me: it's primarily a matter of taste which properties are more important to you! The only thing you can't argue with is the pack size.
Important: Always orientate yourself to the specified comfort temperatures. Not the extreme range. You want to sleep relaxed and not just barely escape death.
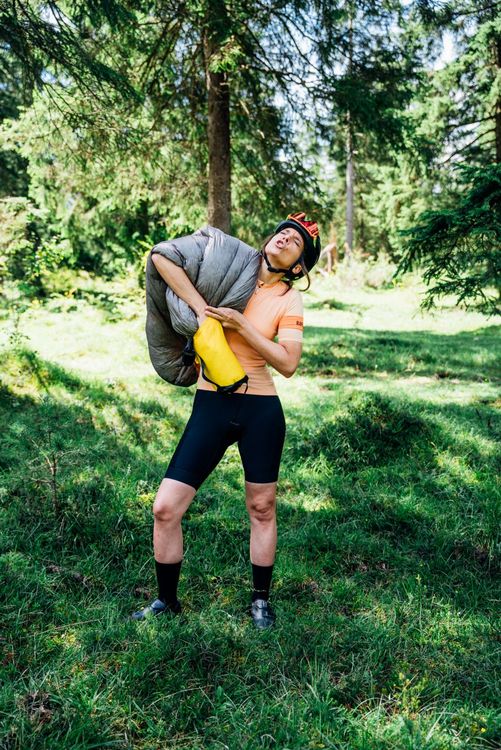
**Tip: Always stuff down sleeping bags into the stuff sack ** Otherwise you may tear the down inside when rolling and thus reduce the thermal performance. And air it out in the morning before packing or hang it out in the sun again at midday. Then nothing will start to smell.
Sleeping mat
Even the best sleeping bag is useless without a decent sleeping mat. This is because the filling lies flat on the underside of the sleeping bag and without a good mat there is a cold bridge. **You can often get more warmth out of a mat than a thicker sleeping bag and you are more flexible. Then you may not have to buy an expensive winter sleeping bag that is rarely used anyway.
!Looking for ... sleeping mat? Then you should know what an R-value is.](https://editor.gravgrav.cc/uploads/medium_7_20230808_Rohn_A7_R9560_e8eac6c51d.jpg)
The most suitable mats for bikepacking are inflatable mats, aka thermal air mattresses. Before you reach for tiny ultralight models, however, you should weigh up the pros and cons: weight + pack size compared to insulation capacity + comfort.
For me, weight is not the most important factor when deciding which mat to buy. But rather: The right R-value! Technical term "thermal resistance". This indicates how much a mat insulates the good body heat and keeps out the nasty cold from below.
- An R-value below 2 is only suitable for the height of summer
- An R-value of 2 to 4 for spring to autumn.
- Above 4 is suitable for winter - depending on how cold you feel. For frostbite sufferers like me, however, the R-value should not be below 4 all year round.
The assumption that "the thicker the sleeping pad, the higher the R-value" is nonsense. Of course, a larger cross-section of the air chambers increases the insulation. But an insulating filling has an even greater effect in terms of warmth. Sea to Summit, for example, uses synthetic fibre flocks, Exped uses down and other companies also use Primaloft.
The Therm-a-Rest "NeoAir XLite NXT" in this photo, for example, has a thermocapture film incorporated as a heat-reflecting layer (like a rescue blanket). A tip on this: Test mats with foil in the shop to see if they crackle! Because that's annoying. This one, for example, is 80% quieter than the previous model and that makes a huge difference.
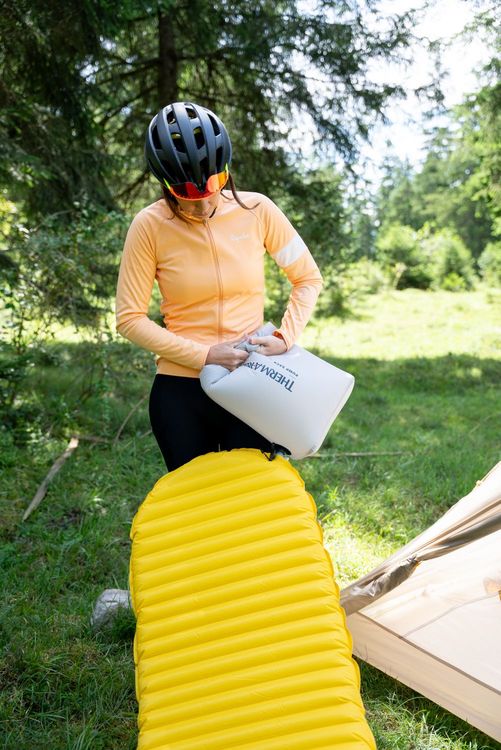
** Tip: Do not inflate the mat with your mouth, but with a pump bag.** This prevents moisture from getting inside. If things go badly, mould can form, the pad will become heavier and you will have ice in the pad if it freezes. Often the pack sack of the mat is also a pump sack. If not, you can also use a separate pump bag as a pack sack, for example for your sleeping bag. So minimalists don't throw up because of the few extra grams. (Smiley!)
A piece of very well-intentioned advice: Whether under the tent, the bivy or directly under the sleeping pad: a base is smart! A small, sharp stone can otherwise puncture the mat - even through a tent floor and even more so with ultrasuperduperlight mats with little material. And always take a repair kit with you anyway. #safeisreallysafer, so you don't crash on the ground.
For small budgets: Many people also strap a collapsible foam mat like the "Canisp" from Frilufts onto their arse rocket. They may not be as small and comfortable, but at 34.95 euros they are unbeatable in price and definitely better than staying at home!
If you weigh every gram and don't have an old man's back yet, you can also chug away with something like the Klymit "Inertia X Lite" mat, which consists of more holes than a mat. (I'm at the osteopath too often for that though).
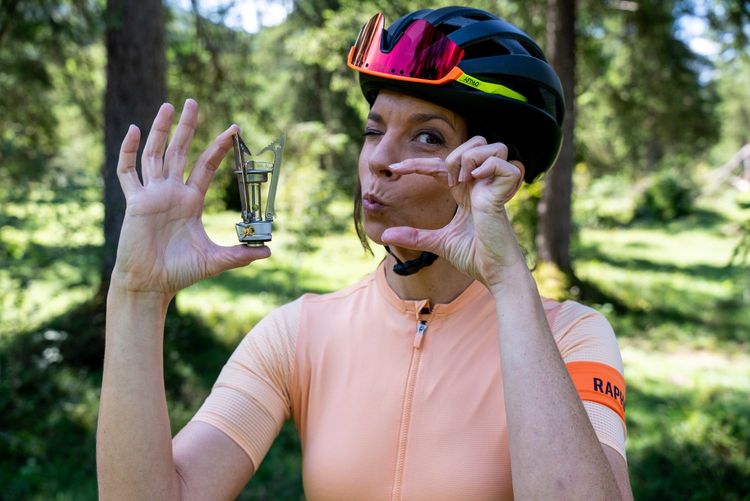
Cooker and crockery
Do you only need coffee or freeze-dried food anyway and therefore only hot water to survive? Then I would pack a system cooker. In other words, a cooker with an integrated pot. The advantage of system cookers is that the flame is protected from the wind and the heat comes directly to the pot. This saves fuel and they are not as wobbly as cookers with a separate pot.
If minimal size and low weight are more important to you, you will be happy with XS cookers such as the Soto "Windmaster" or unbeatable in terms of price: the MSR "Pocket Rocket".
If you are travelling with a classic gas cooker, always take an aluminium foil windbreak with you. This saves time and gas. Otherwise you will eventually have to pack an additional cartridge, which weighs more and takes up more space.
There are clever solutions for pots, such as integrated heat exchangers. These use the heat from the cooker up to 50 per cent more efficiently. On longer trips in particular, you may be able to get by with one less gas cartridge. And: Folding pots and bowls should be mentioned just behind the invention of the light bulb in terms of technical development. Fantastically practical!
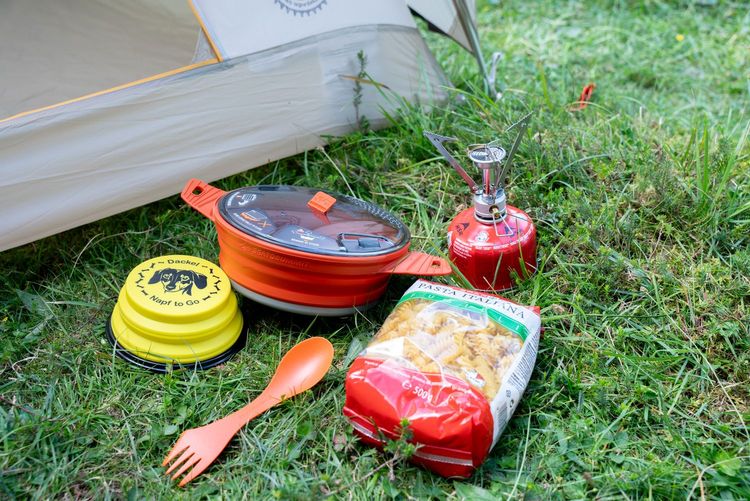
** Tip:** In Europe, gas cartridges are usually readily available everywhere. However, there are different closures! So always make sure that the cartridge fits the cooker. And beware of Campinggaz in France, this is a different system.
Solutions for transporting water, important small items such as lights or powerbanks with handlebar mounts can be found in the video or on the shopping page. Not because I want to get rich, but otherwise this article will definitely be too long.
Smart stuff at the end
Almost as important as the right equipment: Before the first trip, definitely take a short spin with the fully loaded bike and test the sleeping setup for a night in the garden or somewhere else! Nothing sucks more than wobbly bags on the bike, or trying to set up the tent in a panic at dusk and realising you don't know how. I say that from humiliating experience.
And the main thing is: DO IT. It's better to set off with a cheap sleeping bag than not at all. And once you've been on the road a few times, you'll quickly realise what you really need and what you can leave at home next time.
More tutorials on bikepacking, which bags you need, the right weight distribution on the bike and a do-not-forget packing list can be found at "How to fahrRad". The first bike tutorial series whose core competence is based on incompetence. This is unfortunately in german though.
Click here to go to the YouTube channel